Screenshotting Excel formulas and pivot tables
By Celtrim · Updated
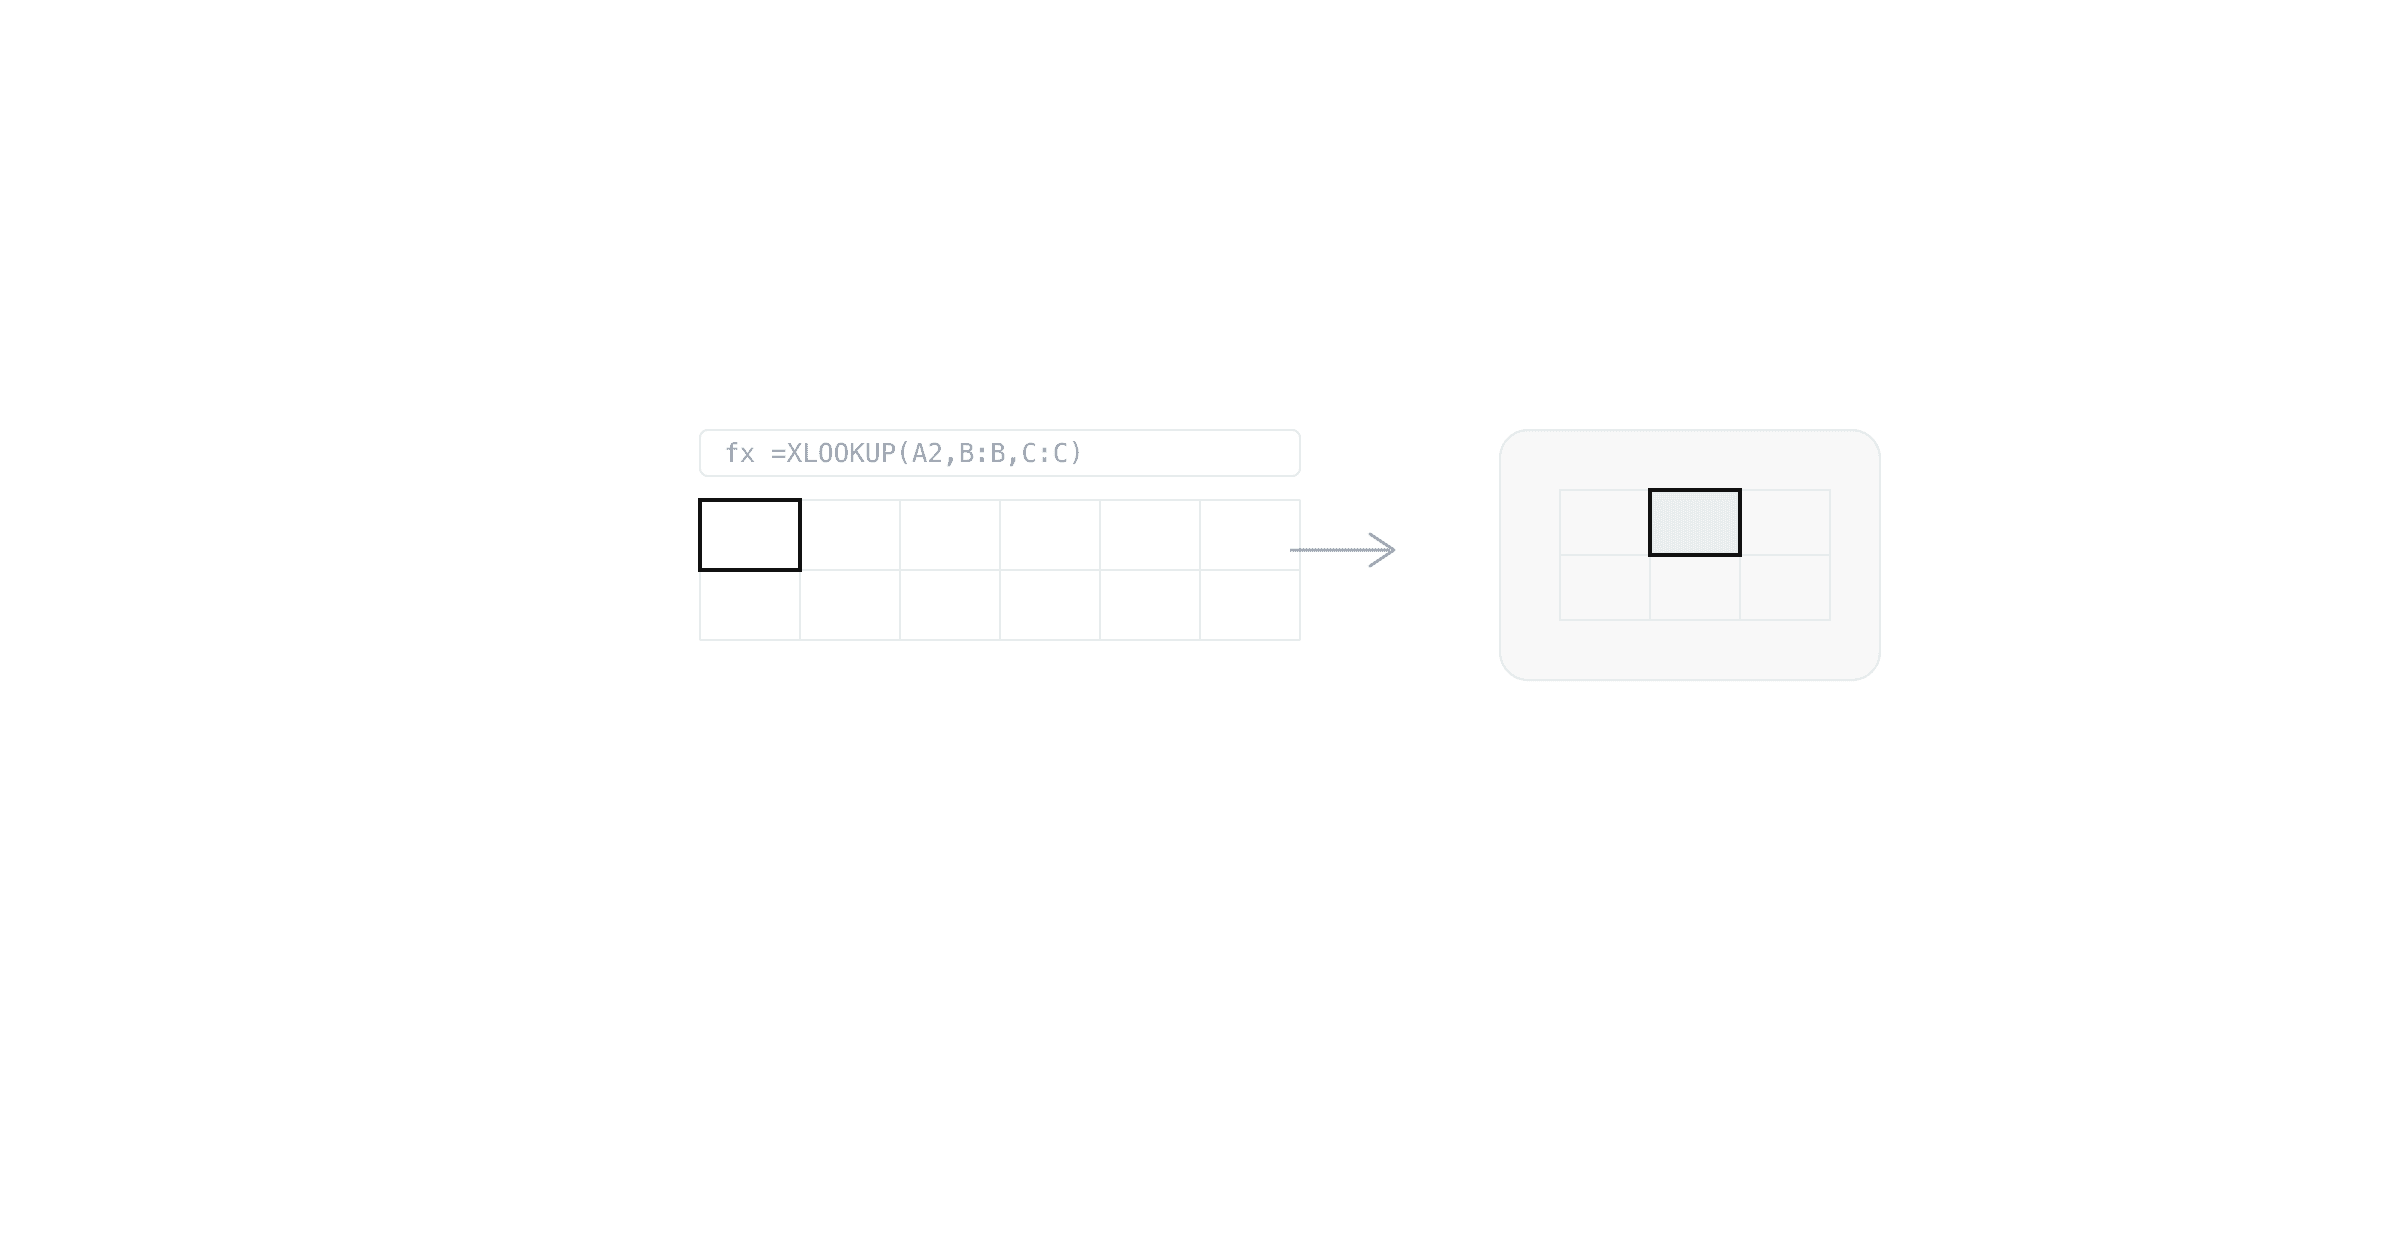
A screenshot of a formula is almost never useful — what people actually want is the result. But results are exactly what breaks in a typical screenshot: pivot tables collapse or truncate, XLOOKUP cells show #N/A if a source range shifted, and Power Query previews don't screenshot at all because they live in a separate editor window. Here's what actually goes wrong with each, and how to avoid it.
Pivot tables: the collapse problem
A pivot table's layout depends on how it's currently expanded or filtered — collapse a row group and the screenshot shows subtotals with no detail; expand everything and it runs off the edge of the window. If you're screenshotting with the OS tool, what you capture is whatever state the pivot happened to be in, which means re-doing the shot every time someone asks you to expand a different region or filter.
The fix isn't a better screenshot technique — it's not depending on the live pivot's state at all. Export the range as values once it's in the shape you want, and the image stays exactly that shape regardless of what the underlying pivot does afterward.
VLOOKUP and XLOOKUP results: showing the answer, not the formula
Two failure modes show up constantly with lookup formulas, whether it's a legacy VLOOKUP(A2,Sheet2!A:C,3,FALSE) or a newer XLOOKUP:
- Showing the formula bar instead of the cell. The formula text means nothing to someone who just wants the number. Screenshot the cell's displayed value, not the formula view (
Ctrl+\`` on Windows,Ctrl+`` on Mac toggles formula view — make sure it's off). - Stale results from a moved source range. If the lookup's source table has since been resorted or a row deleted, the formula can recalculate to
#N/Aby the time someone views the screenshot, even though it was correct when you took it —VLOOKUPis especially prone to this since it breaks when a column is inserted inside its range, not just when the source table moves. A screenshot of the value freezes it at that moment — which is usually what you want when reporting a result, not a live link to a formula that might change.
Power Query: screenshotting a step, not just the output
Power Query's editor is a separate window from the worksheet, so screenshotting "the query" usually means one of two different things:
- The applied steps pane — useful when you're documenting how a transformation was built, for a teammate who needs to reproduce it. This has to be a normal OS screenshot of the Power Query Editor window, since that pane doesn't exist as worksheet cells.
- The output — the actual table Power Query produces once loaded back into the sheet. This is worksheet data like any other, so it doesn't need the query editor at all — screenshot the loaded table the same way you'd screenshot any range.
Mixing these up is the usual mistake: someone screenshots the query editor to show a colleague "the data," when the loaded table on the worksheet would have been a cleaner, more readable image.
The same distinction applies if you're pulling data the other direction with Power BI's Get Data step from an Excel workbook — the dialog itself is worth screenshotting only if you're documenting the connection setup; the actual values still belong to the worksheet underneath.
Getting a clean result every time
For all three cases, the pattern is the same: get the sheet into the state you want — pivot expanded correctly, formula showing its value, query loaded into the worksheet — and then export exactly that range as an image, independent of whatever happens to the sheet afterward.
Celtrim does this by reading the calculated values straight out of the file rather than rendering a live view, so a pivot subtotal, an XLOOKUP result, or a Power Query output all screenshot exactly as they appear at that moment — no formula bar, no truncated columns, no re-doing the shot if the sheet changes later. Upload the .xlsx or .csv, drag across the table you want, and export a PNG.