How to insert a screenshot into Google Sheets
By Celtrim · Updated
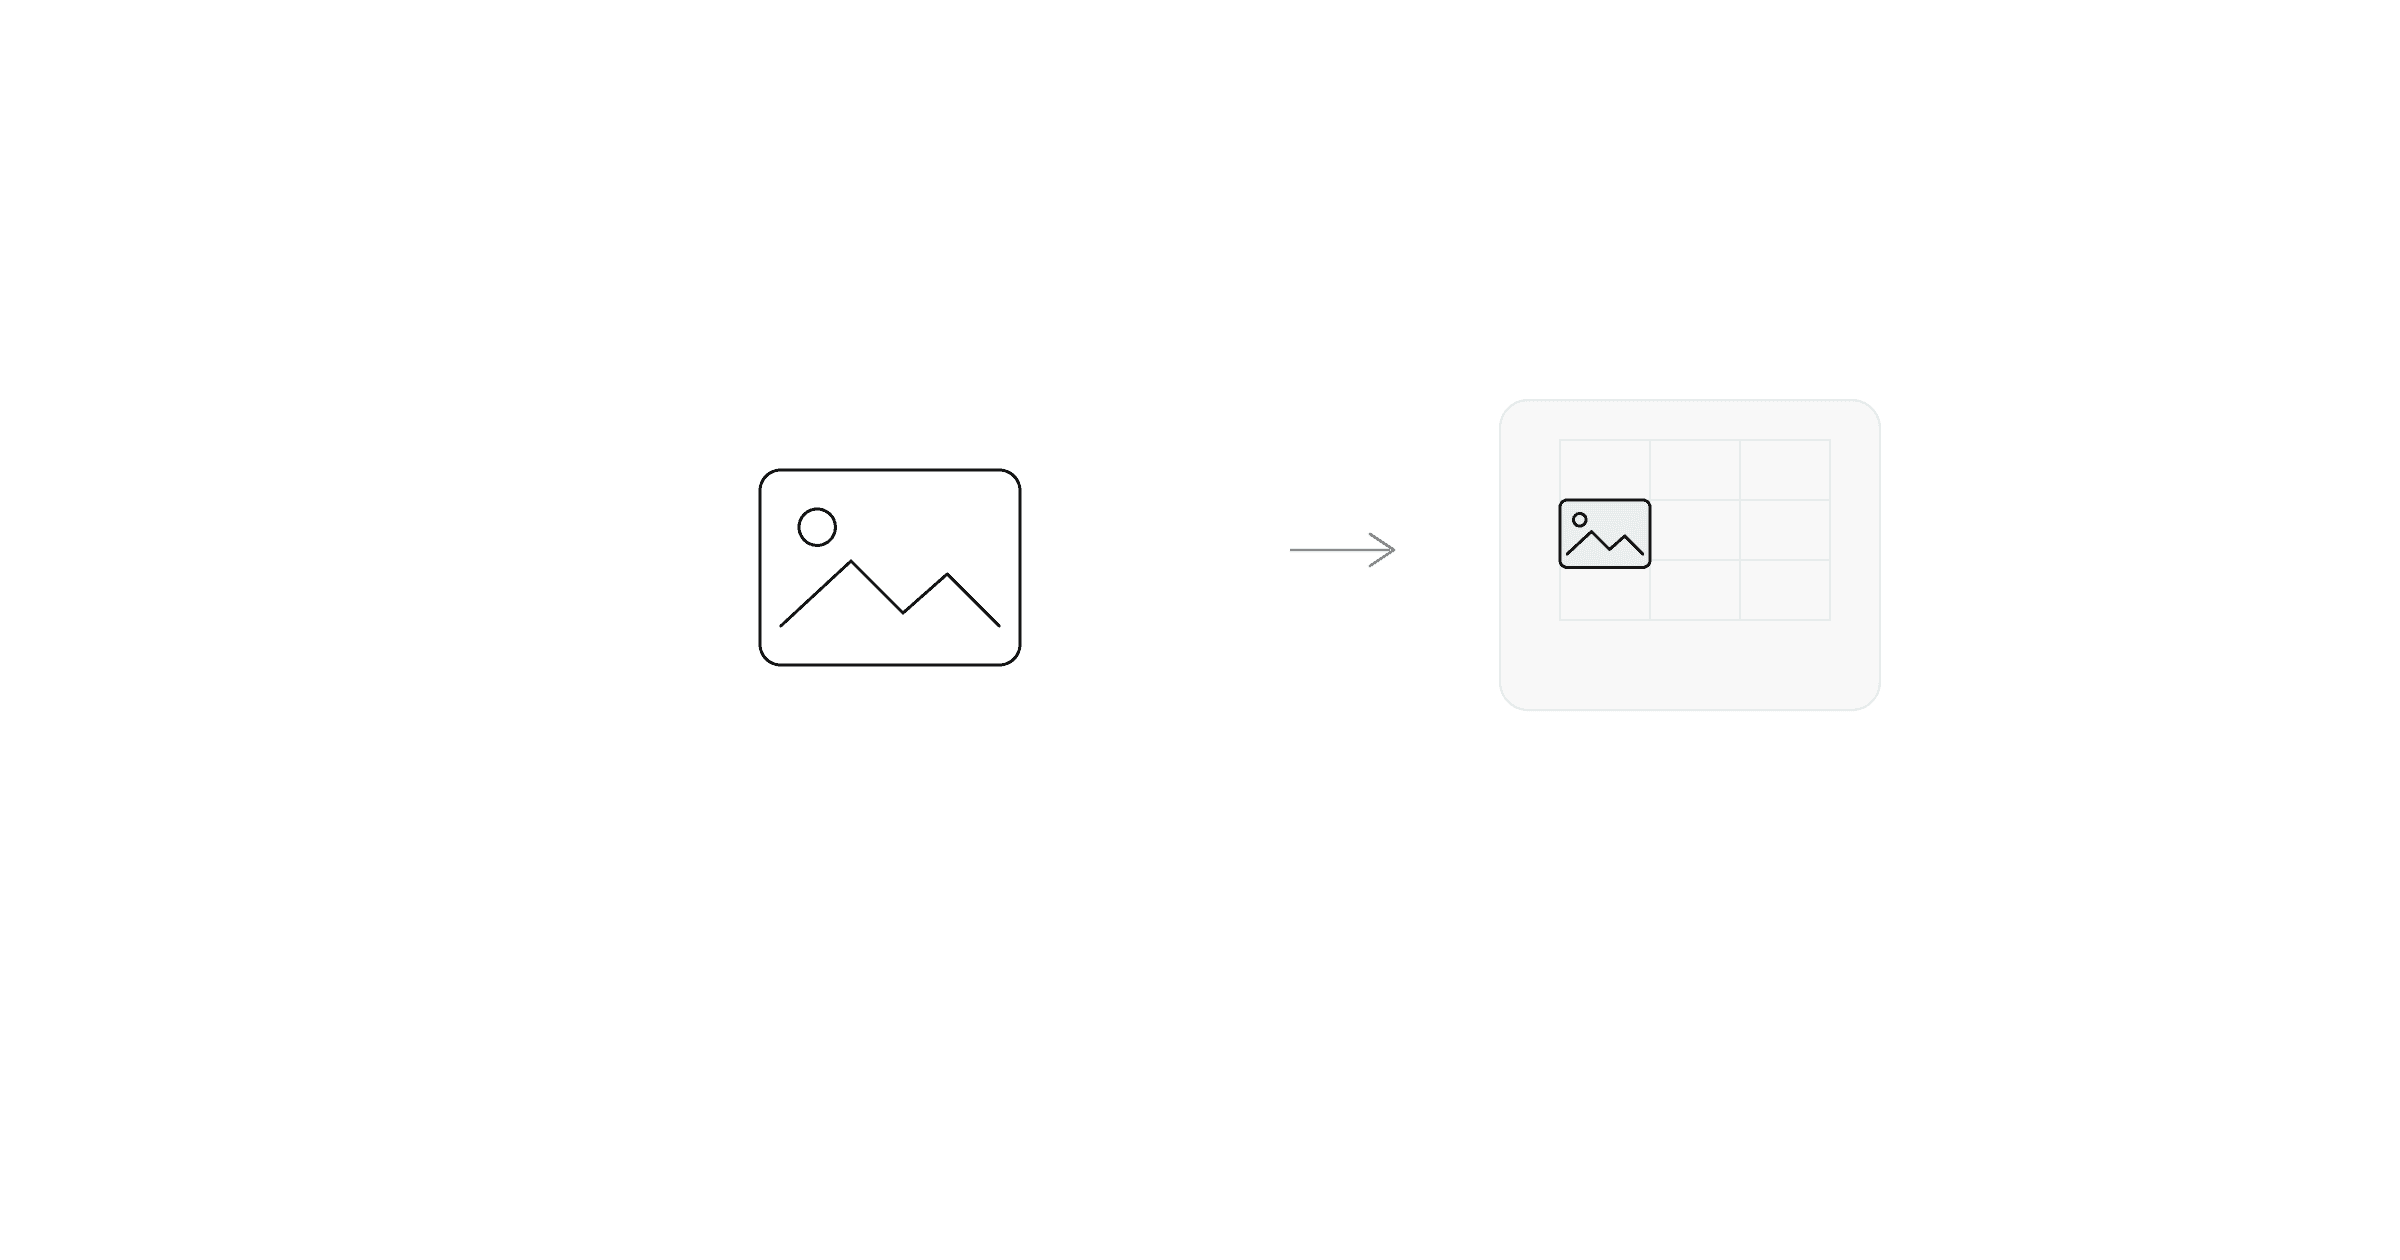
Google Sheets has two different ways to add an image, and they behave differently enough that picking the wrong one is the usual source of "why did my picture move" frustration.
Insert → Image → Insert image over cells
Insert → Image → Insert image over cells is the default. The image floats above the grid as its own object, independent of any cell — which means resizing a column or inserting a row doesn't move it, and it can end up overlapping content it was never meant to cover. This is the right choice for something decorative (a logo, a header banner) that shouldn't be tied to the data underneath it.
Insert → Image → Insert image in cell
Insert → Image → Insert image in cell anchors the image to a specific cell instead. It scales and moves with that cell — resize the row or column and the image resizes with it, sort the surrounding data and the image moves with its row. This is almost always the better choice when the picture is part of a row of data (a product photo next to a SKU, a headshot next to a name), since it stays attached to the right row instead of drifting.
Where the file comes from
Both insert flows let you choose:
- Upload — a file from your computer.
- Google Drive — anything already saved there.
- URL — a direct link to a hosted image.
- Camera — your device's camera, on mobile.
If you already have an image on your clipboard — a screenshot you just took — pasting directly into a cell (Ctrl+V / Cmd+V) works in most cases and skips the Insert menu entirely, landing as an over-the-cells image the same as the default Insert flow.
Cell size limits
"Insert image in cell" scales the image to fit the cell's current dimensions, which can make a detailed screenshot illegible if the cell is small — the image doesn't get a scrollable or zoomable view inside the cell, so a wide screenshot squeezed into a narrow default column width just looks compressed. Widening the column and row after inserting fixes this, since the image rescales with the cell.
The other direction
If your goal is the reverse — turning part of a Google Sheet into an image instead of adding one to it — that's a different workflow, covered in how to screenshot a Google Sheet. The short version: export the sheet as .xlsx or .csv and use a tool like Celtrim to select a range and download it as a clean PNG.