How to export Excel without gridlines
By Celtrim · Updated
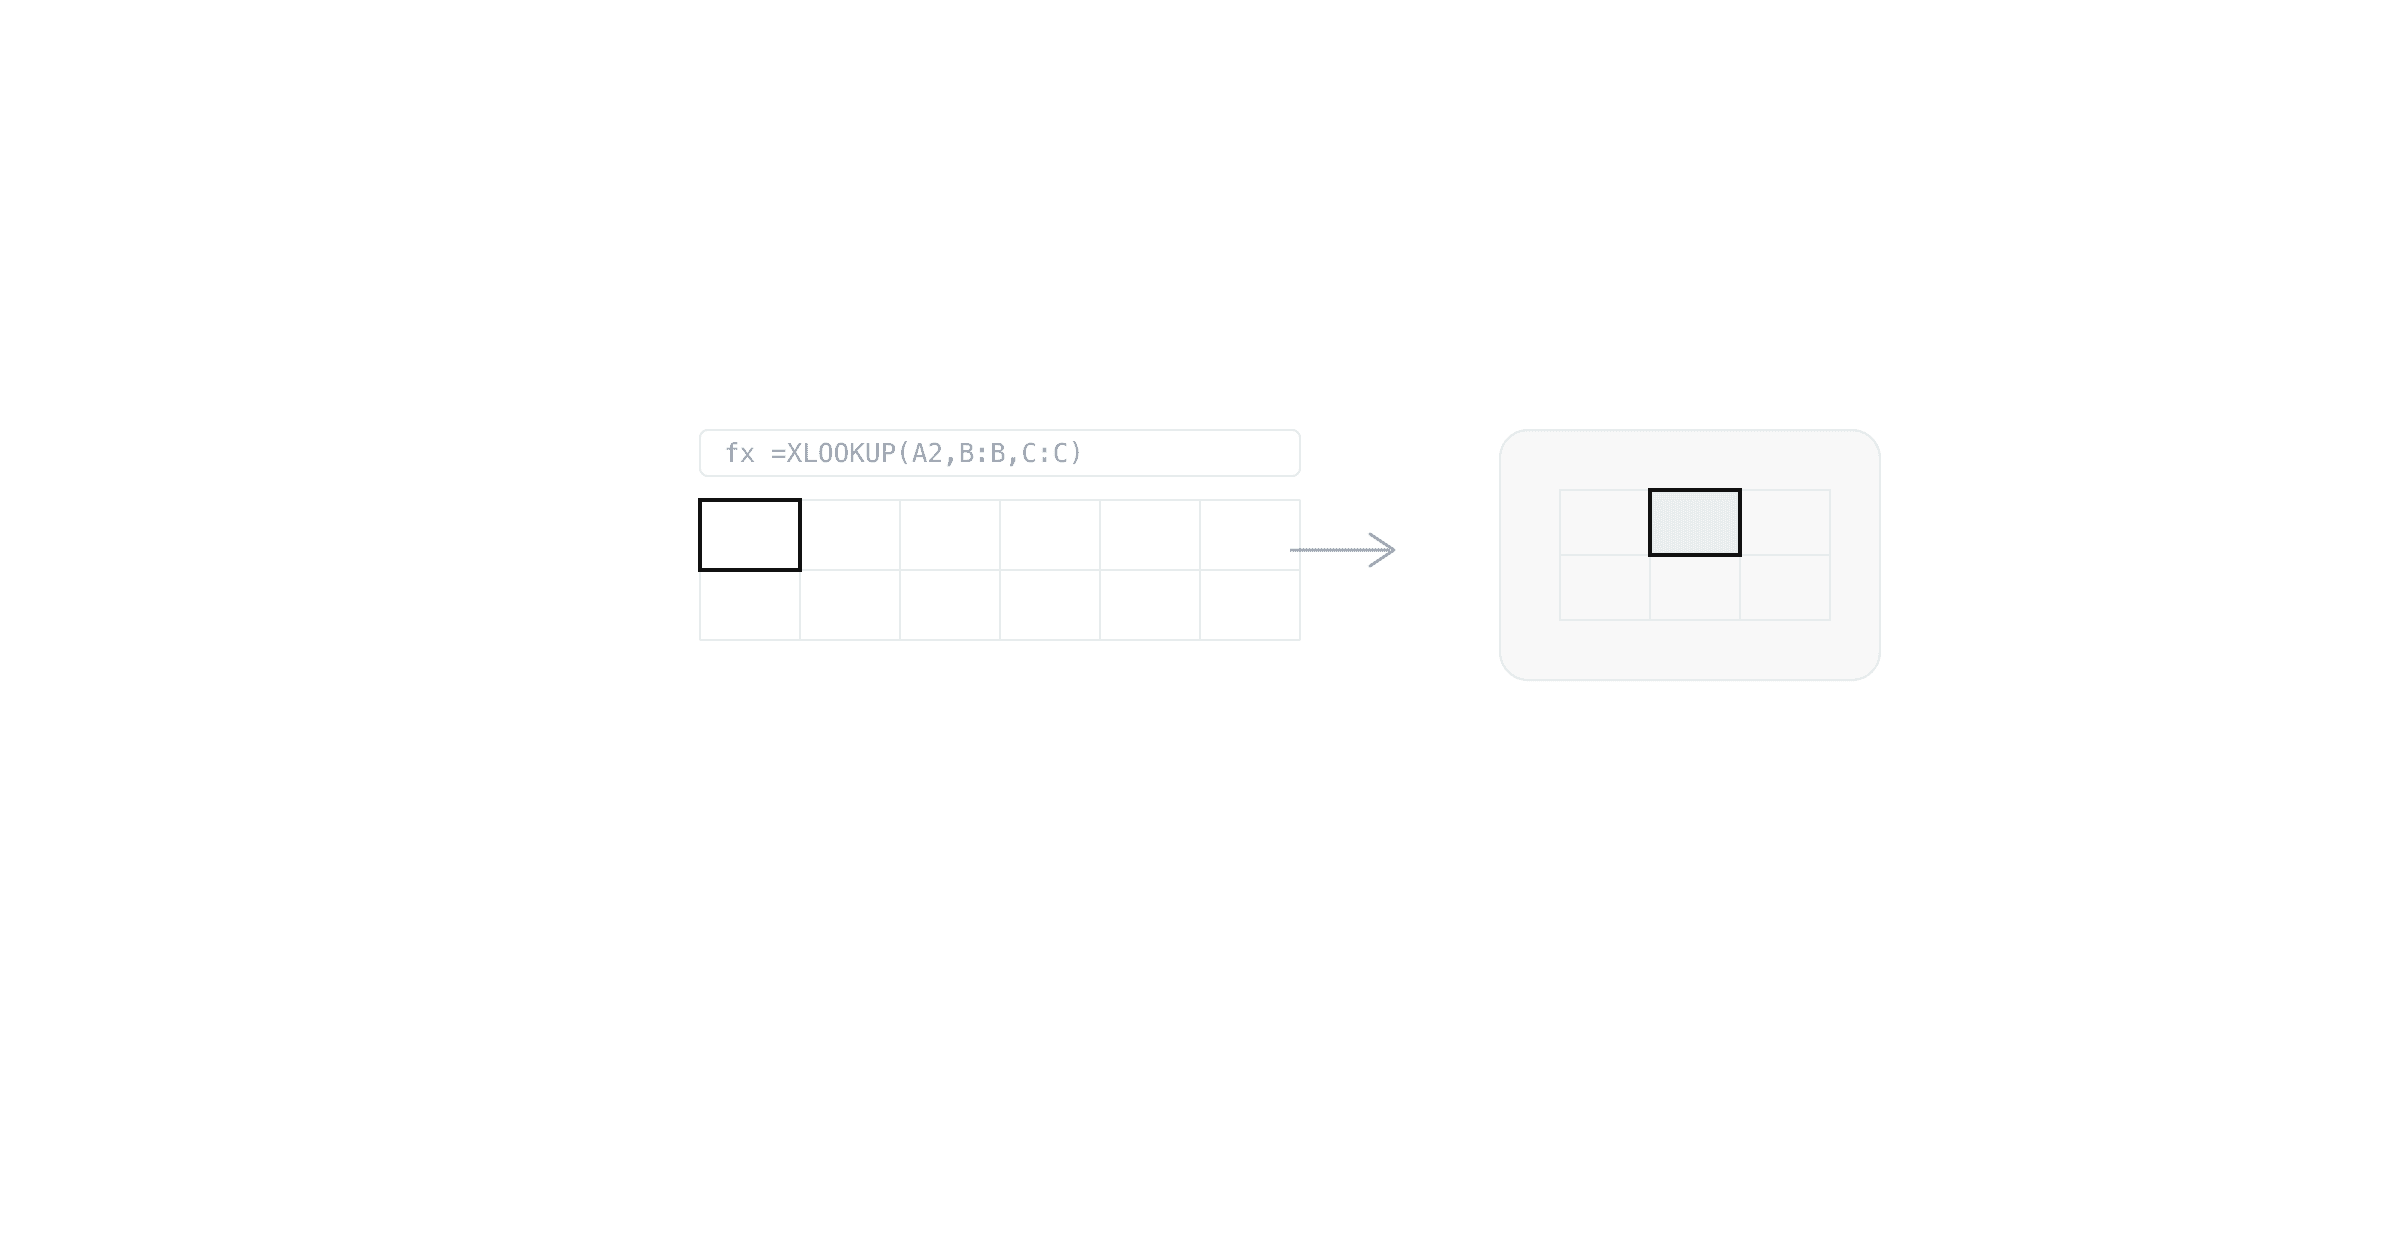
There are two different ways to export Excel without gridlines: hide worksheet gridlines before printing or copying, or export a selected range as an image and disable the grid in the image settings. Intentional cell borders can remain visible in either workflow.
Hide gridlines inside Excel
For the current worksheet, open the View tab and clear Gridlines. This changes the on-screen view but does not remove borders that were explicitly applied to cells.
For a print or PDF export, open Page Layout → Sheet Options → Gridlines and clear Print. Check the print preview before exporting because the print setting is separate from the on-screen View setting.
Export selected cells without gridlines
When you only need a table image:
- Upload the workbook to Celtrim or paste copied cells.
- Select the rows and columns that belong in the image.
- Open the screenshot editor.
- Turn off Show grid.
- Download the PNG.
With Preserve formatting enabled, supported borders from the workbook remain part of the table design. The general worksheet grid can be hidden independently, which is useful for a report-style result.
Gridlines and borders are not the same
Gridlines are Excel's faint default guides around cells. Borders are formatting applied to particular cells, rows, or table edges. Removing gridlines usually improves a shared image, but removing every border can make columns difficult to follow.
A practical layout is to keep a stronger rule below the header and subtle separators between important groups while omitting the full worksheet grid.
When not to remove the grid
Keep gridlines when the exact cell structure matters—for example, when someone is reviewing a reconciliation row by row. Remove them when the table is acting as a finished visual in a slide, email, report, or documentation page.
For other export decisions, read how to save an Excel range as a PNG or how to copy an Excel table as an image.
Gridlines behave differently when the destination is paper rather than an image: there they are off by default and have to be switched on. Printing an Excel sheet covers that setting along with the rest of page setup.