How to save an Excel sheet as a PDF
By Celtrim · Updated
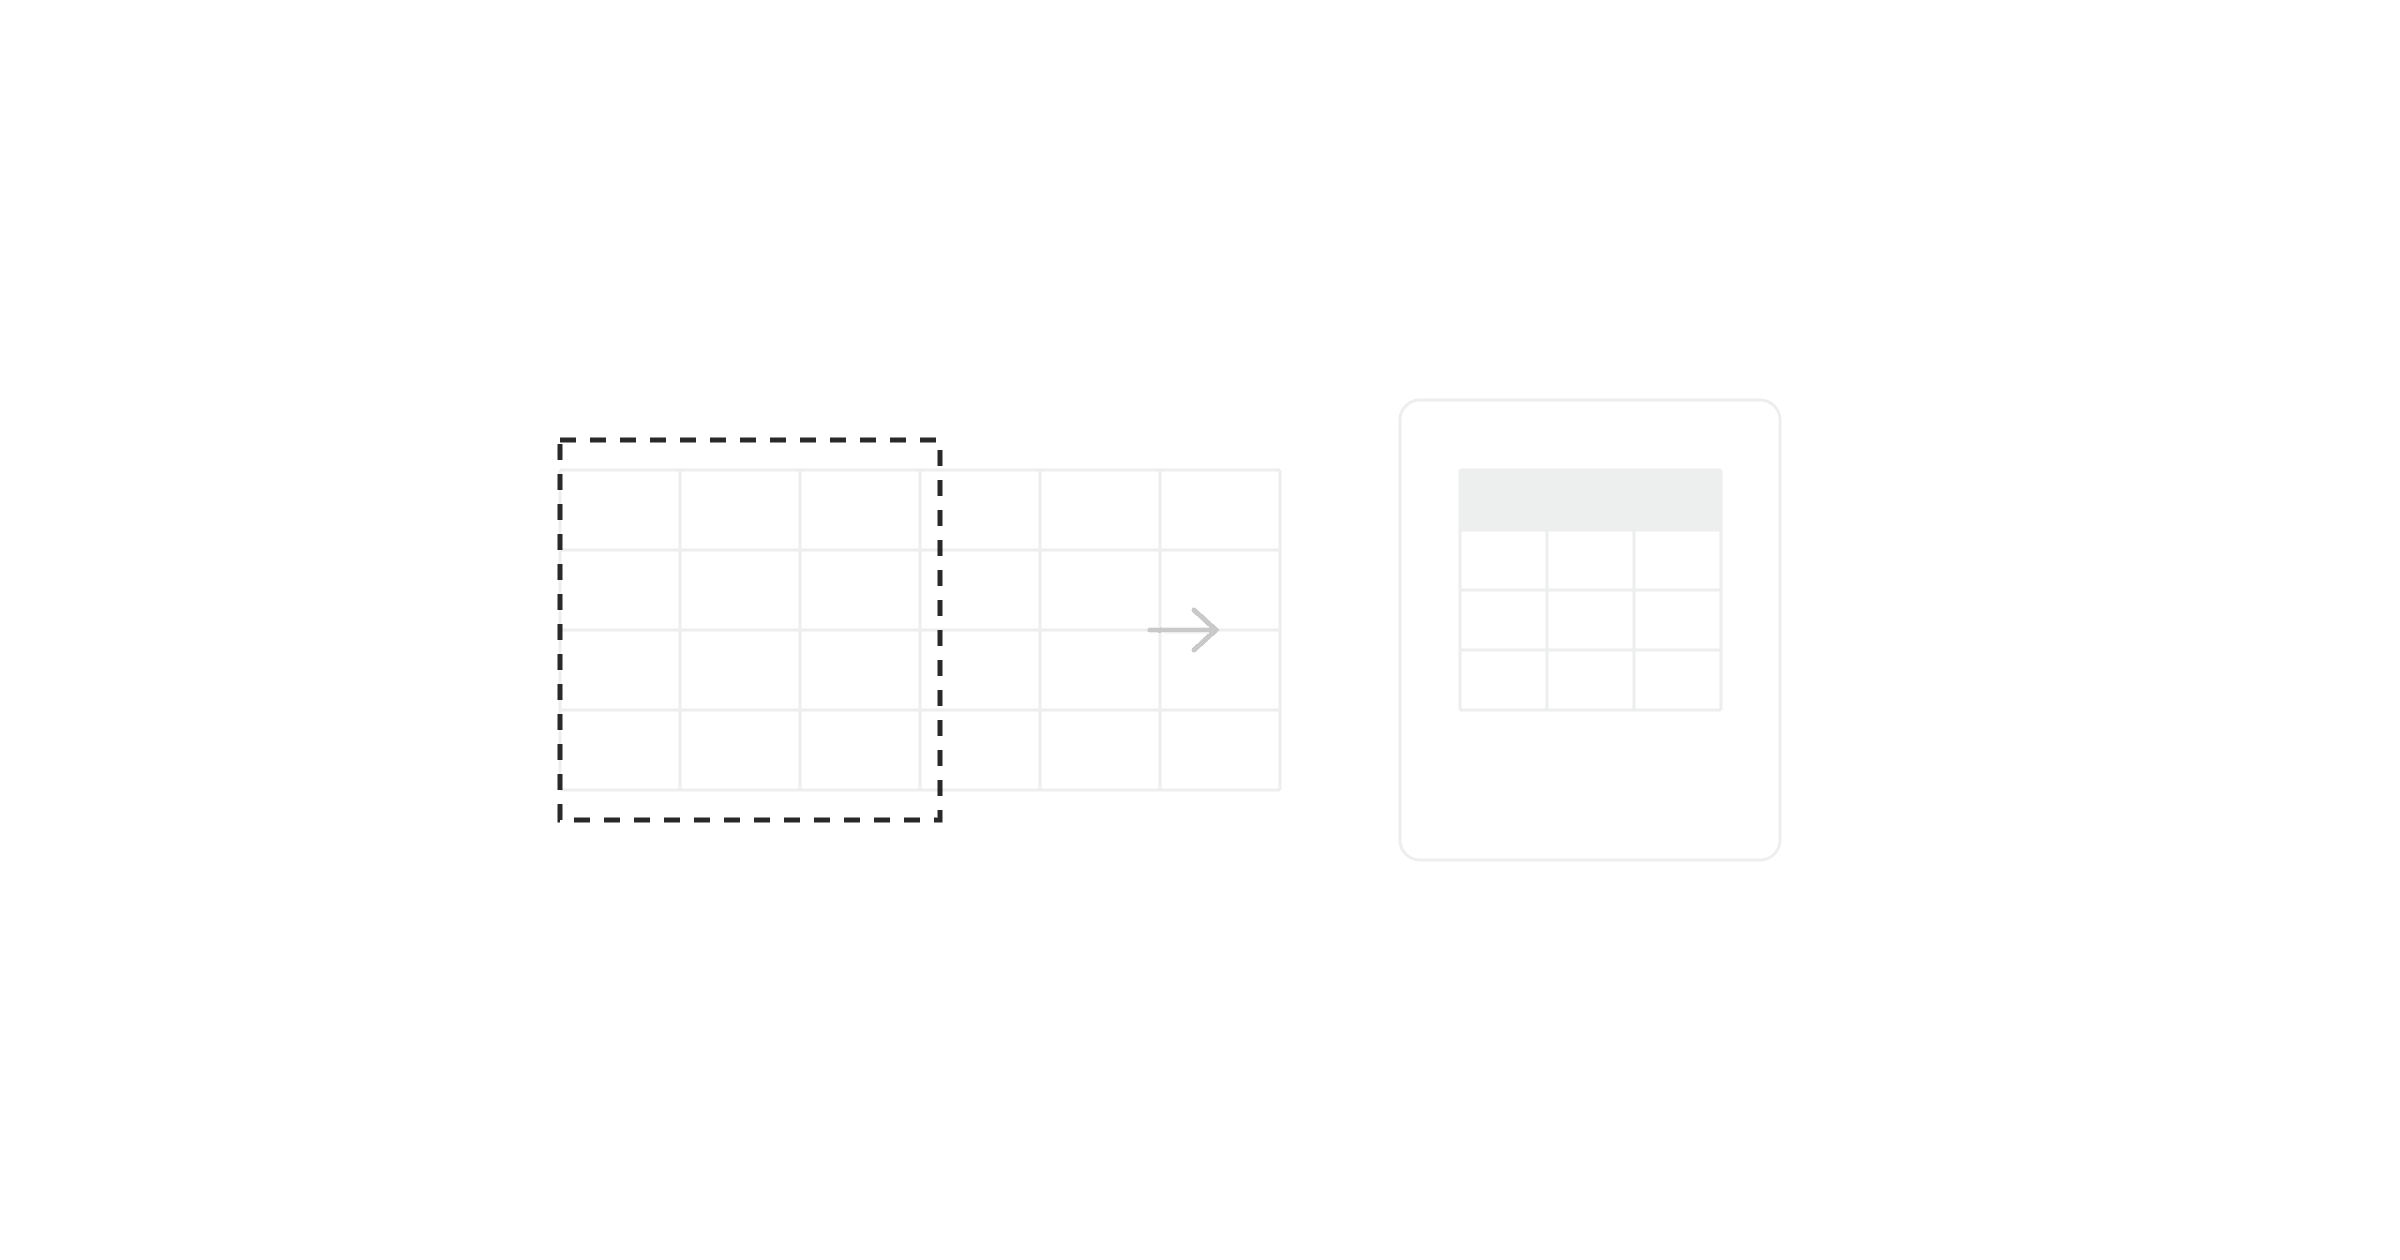
Saving a spreadsheet as a PDF is two decisions that get made in the wrong order. People pick the export command first and then fight the layout. The layout is the part that matters — the export command barely differs.
The three routes, and which to use
Export → Create PDF/XPS (Windows) is the intended path. It gives you an Options dialog, which is the only route that exposes what gets included.
Save As → PDF is the same engine with fewer prompts. The Options button is there too, next to the Save button, just less obvious.
Print → Microsoft Print to PDF produces a PDF through the printer driver. It works, but you lose the Options dialog, hyperlinks stop working in the output, and the result is sometimes rasterised. Use it only when the other two are unavailable.
On a Mac, File → Save As → PDF and the PDF dropdown in the Print dialog are the equivalents. The Mac version has fewer options overall, so more of the work has to happen in page setup.
What the Options dialog decides
This is the dialog most people never open, and it answers the question "why did I get the wrong sheets":
- Selection — only the cells you had highlighted.
- Active sheet(s) — the default, and the source of most surprises. It means the tab you are on, not the workbook.
- Entire workbook — every sheet, in tab order.
- Table — the Excel table object your cursor is inside.
- Page range — for when only pages 3 to 5 matter.
There is also Ignore print areas, worth knowing about because a print area someone set months ago will otherwise quietly decide what your PDF contains.
Page setup does the real work
A PDF has pages, so every problem with printing to paper applies here identically: columns spilling onto a second page, headers appearing only once, a table that starts halfway down.
The settings are the same ones — Scale to Fit width, landscape, print titles, print area — and they are worth getting right before exporting rather than after. The full walkthrough of fitting a sheet to pages covers each of them; a PDF export inherits whatever you set there.
The short version, if you only do one thing: set Page Layout → Scale to Fit → Width to 1 page and leave Height on Automatic.
Quality, and the size trade
The export dialog offers Standard and Minimum size. Standard embeds fonts properly and keeps images at full resolution; minimum size downsamples them.
For a spreadsheet that is mostly text and numbers, the difference is usually trivial — a few hundred kilobytes — because there is little to compress. Choose Standard unless the workbook contains photographs and the file has to fit an attachment limit.
One thing Standard preserves that the print-driver route does not: the text stays text. The recipient can search it, select it, and copy a figure out of it. A rasterised PDF of a table is a picture of numbers, which is a small cruelty to whoever has to retype them.
What does not survive
- Anything hidden. Hidden rows, columns, and sheets are not exported. Usually what you want; occasionally a nasty surprise when a filter was left on.
- Comments and notes, unless you set them to print in Page Setup.
- Interactivity. Filters, slicers, and form controls become the static state they were in when you exported.
- Formulas. Obviously — but worth stating, because a PDF is genuinely uneditable in a way "read-only" in Excel is not.
That last point is the honest reason to send a PDF: nobody can change the numbers and send them back as if they were yours.
When a PDF is the wrong format
PDF suits a document someone will page through — a monthly report, a signed-off statement, an invoice. It is a poor fit for a single table that needs to be seen rather than opened.
A five-row summary in an email is better as an image in the message body than as an attachment the recipient has to download, open, and scroll. The same table on a slide is better as a picture than as an embedded object that reflows. In both cases, exporting the range as a PNG drops the page-fitting problem entirely, since an image has no page boundaries to break across.
And if the recipient needs the numbers to work with rather than to look at, neither format is right — send them a CSV export and let them import it.
A checklist before exporting
- Page Break Preview to see how many pages you are actually producing.
- Scale to Fit width to
1 page. - Landscape if the table is wider than it is tall.
- Print titles set, so headers repeat.
- Print area set, if you do not want the whole sheet.
- Export → Create PDF/XPS → Options → confirm the scope is the sheets you meant.
Steps one through five are where the quality comes from. Step six is just where the file appears.