How to print an Excel sheet without it breaking across pages
By Celtrim · Updated
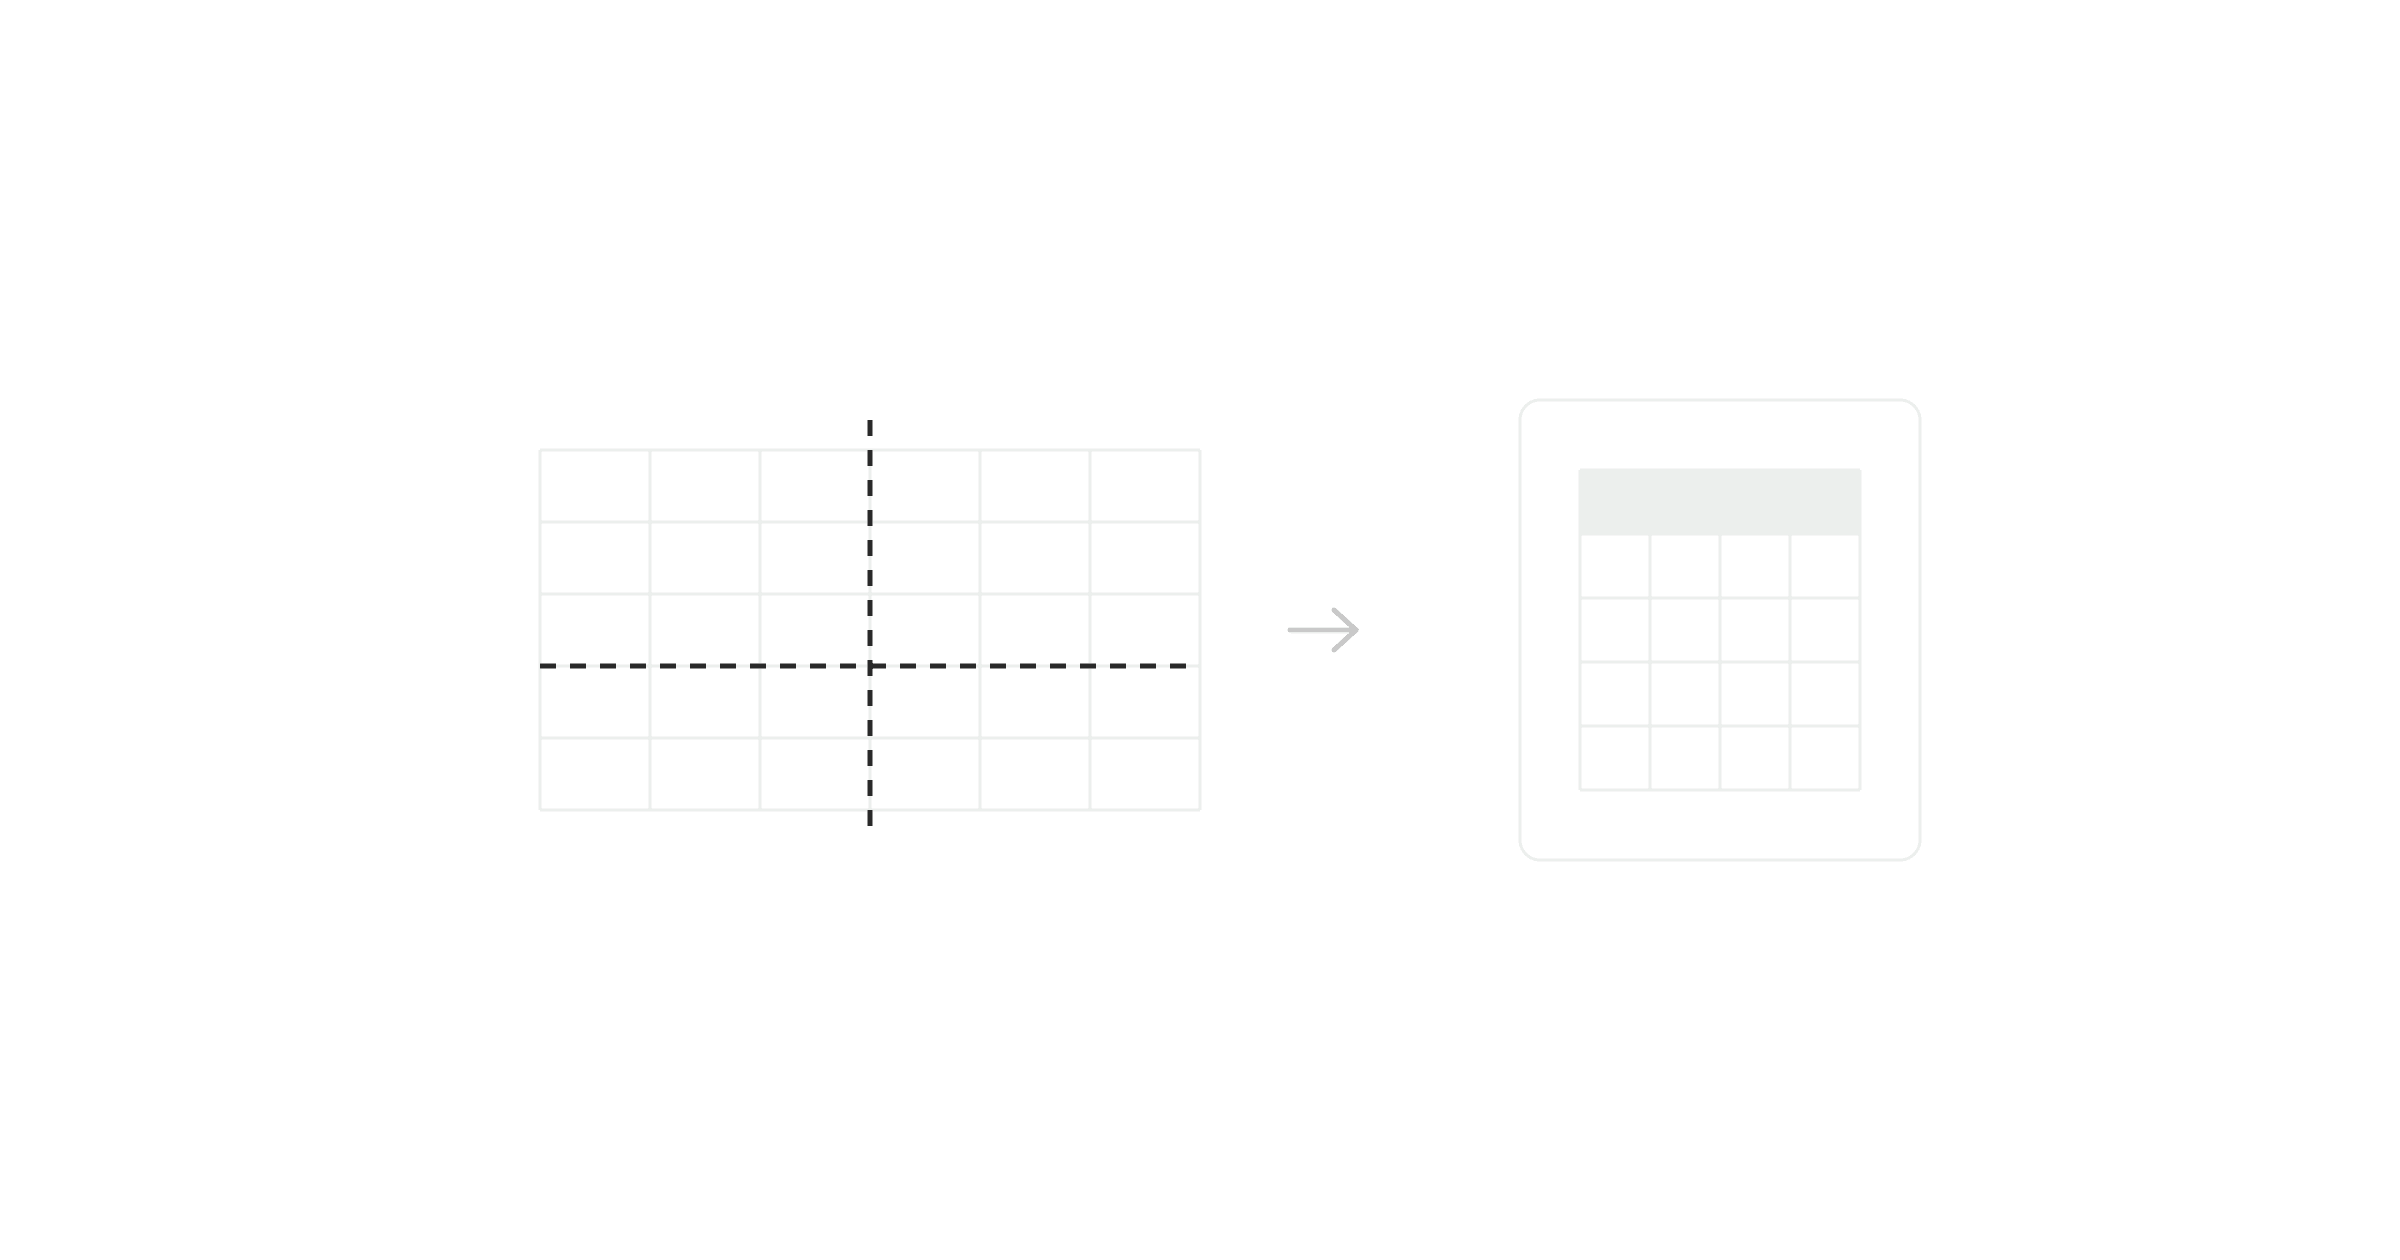
Excel is built around a sheet that never ends. Paper is not. Printing is where those two facts meet, and the default result is a table sliced across nine pages with the last two columns stranded on their own.
Everything below lives in the Page Layout tab, and every one of the settings is per sheet — set them on one tab and the others keep their own.
Start in Page Break Preview
Before changing anything, switch to View → Page Break Preview. Excel shows your sheet with blue lines where each page will end and a watermark number on each page.
This one step prevents most printing frustration, because it turns an invisible problem into a visible one. You can see immediately whether you are dealing with two pages or fourteen, and whether the break falls in a stupid place. You can also drag those blue lines to move a break, though it is usually better to fix the cause than the symptom.
Fit the columns onto one page
The most common goal is one page wide and as many pages long as it takes — a report that reads down, not across.
In Page Layout → Scale to Fit, set Width to 1 page and leave Height at Automatic. That squeezes the columns to the page width and lets the rows run onto as many pages as they need.
Resist "Fit Sheet on One Page" unless the table is genuinely small. It scales both dimensions, and a hundred-row table forced onto a single sheet arrives at about four-point type.
If the result is too small to read, the sheet is too wide, not the scaling. Hide the columns nobody needs before printing, or switch to landscape.
Landscape and margins
Page Layout → Orientation → Landscape gives you roughly 40% more width, which is often the difference between fitting and not.
Margins → Narrow buys a bit more. Under Custom Margins there is also a Center on page option, horizontally and vertically — worth ticking for a short table so it does not sit forlornly in the top-left corner.
Print only what matters
If you want a specific range rather than everything on the sheet, select it and use Page Layout → Print Area → Set Print Area. Excel then ignores the rest of the sheet on every subsequent print until you clear it.
This is also the fix for the classic "why is it printing 47 blank pages" problem. That happens when a cell far out in the sheet has formatting or a stray space, so Excel believes the used range extends to AZ4000. Setting an explicit print area overrides that entirely. Clearing the offending rows and saving also works, but is more effort.
Repeat the header row on every page
A multi-page table where only page one has headers is close to useless.
Page Layout → Print Titles → Rows to repeat at top, then click your header row — it fills in as $1:$1. Every printed page now carries the headers. There is a matching Columns to repeat at left for tables that run wide.
Note that this is a print setting, entirely separate from freezing panes on screen. Freezing does not print, and repeating titles does not affect the display.
Gridlines and headings
Gridlines are visible on screen but do not print by default. To print them, tick Page Layout → Sheet Options → Gridlines → Print.
Next to it, Headings → Print adds the column letters and row numbers to the page, which is useful when the printout is being discussed on a call and you need to say "look at C14". For a document going to a client, leave both off and give your table real borders instead.
Gridlines behave differently again when you are exporting a picture rather than printing — that has its own set of rules.
Headers, footers, and page numbers
Page Layout → Print Titles → Header/Footer handles the running text at the top and bottom of each page. Page numbers, the file name, and the date are all one click each. On a table that runs to twelve pages, page numbers are not a nicety — they are how someone reassembles the stack after dropping it.
Check before you commit paper
Ctrl+P (or Cmd+P) shows the real preview with all the settings applied, and the page count in the corner is the number that matters. Everything covered above can be changed from that screen too, under Page Setup, so you can iterate without leaving the preview.
When paper is the wrong answer
A fair amount of printing is really "get this table into something I can send". If the destination is an email, a slide, a chat message, or a ticket, a PDF or an image is a better artefact than a scan of a printout.
For a file the recipient will open and page through, saving the sheet as a PDF uses the same page setup you just configured, so the fitting work carries over.
For a single table that needs to be seen inside a message or a slide, a PNG beats a PDF attachment nobody opens. Selecting the range and exporting it as an image skips the page-fitting problem entirely, because an image has no pages to break across.